Select Your Vehicle
GO
Clear

3000GT VR4 & Dodge Stealth Transfer Case Seal Installation Guide

After many years the Stealth or 3000GT VR4 transfer case seals begin to leak, this happened so often there was a safety recall in the 2000s to address the issue. The dealership would replace your seals and inspect your transfer case to see if it needed replaced completely.

The recall has finally expired and very few, if any dealerships are still doing this. As part of our transfer case rebuild service we replace all the seals in the transfer, but some customer may elect to buy just the seal kit and tackle this themselves if their unit does not need a rebuild.

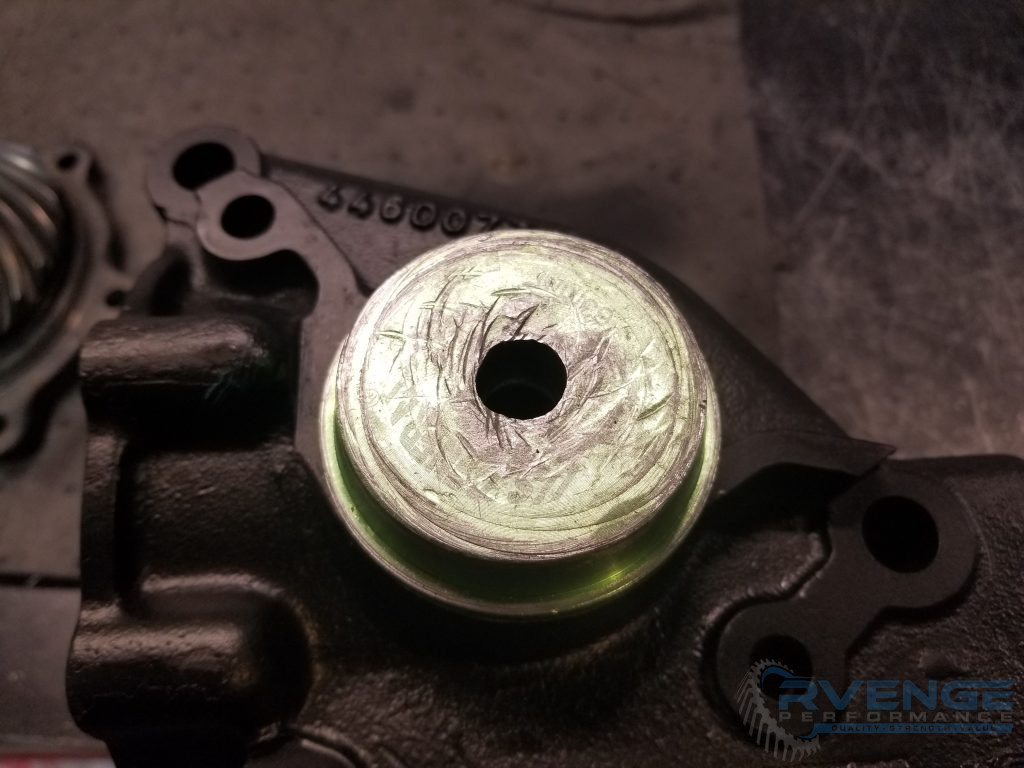
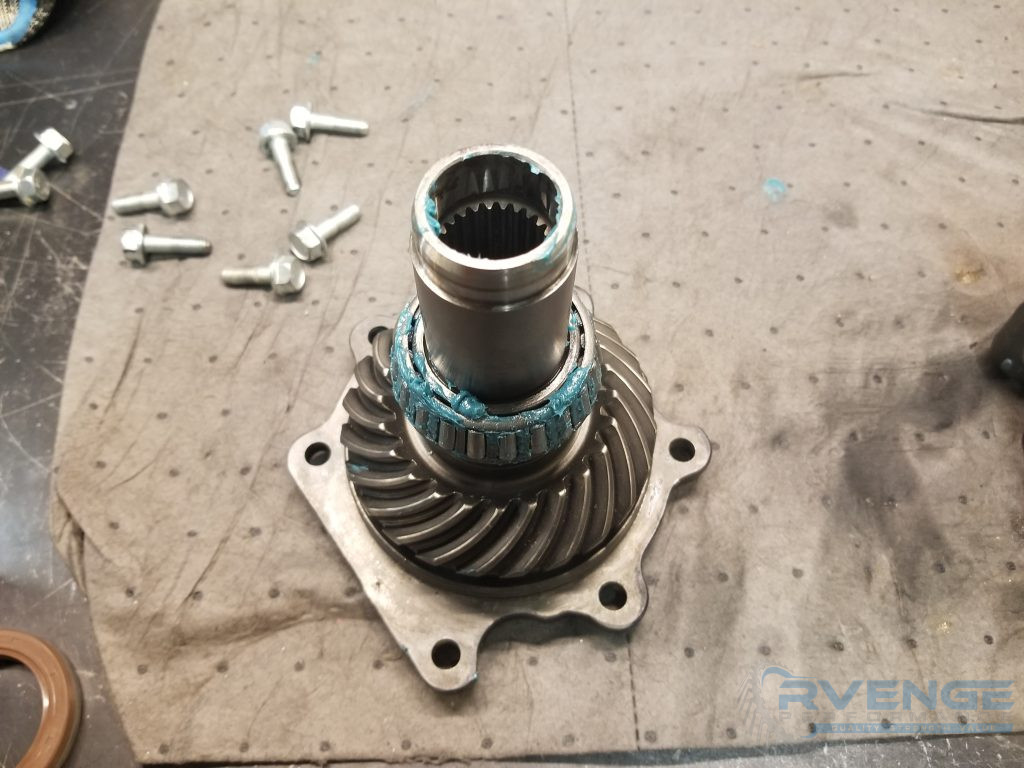
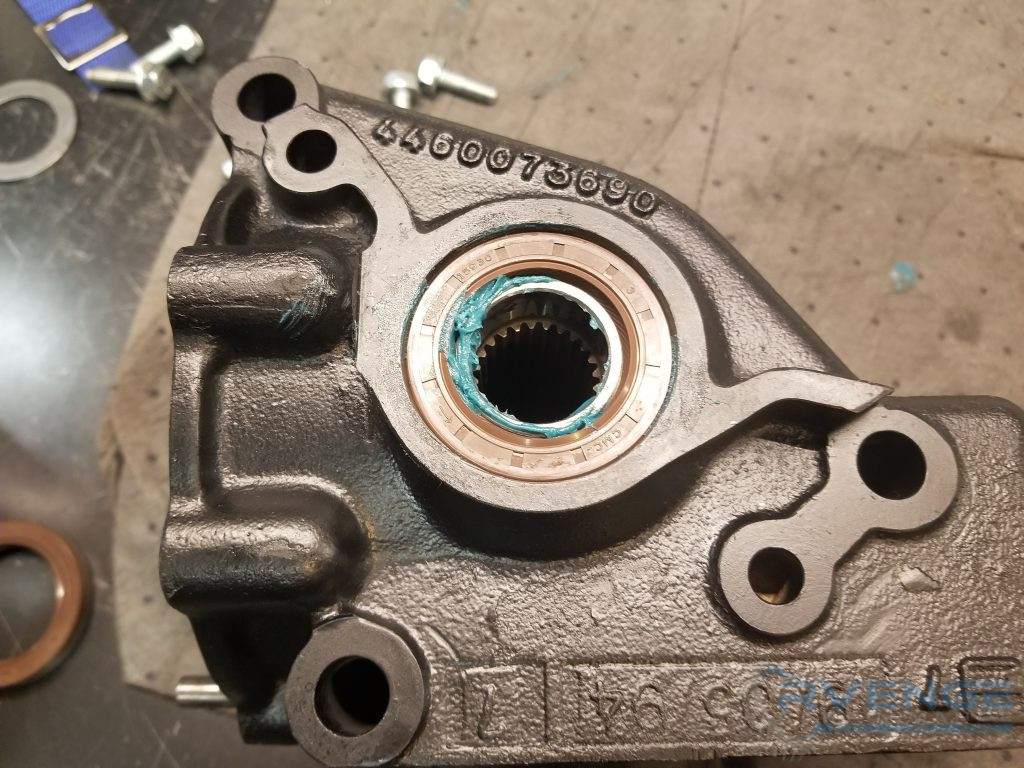
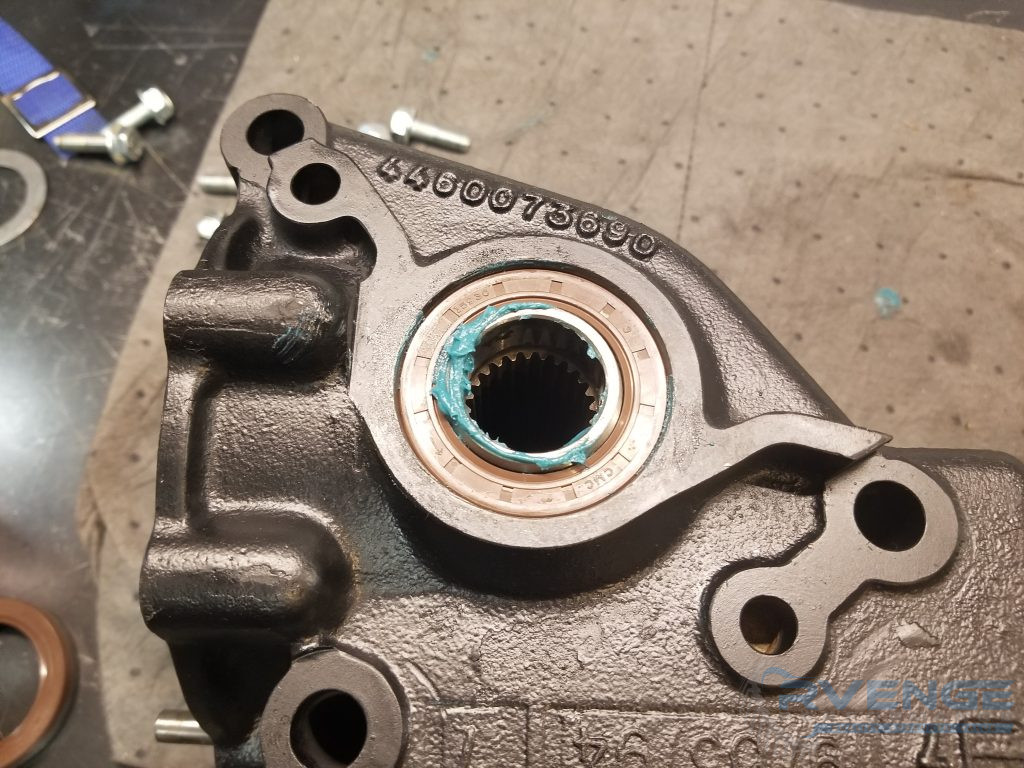
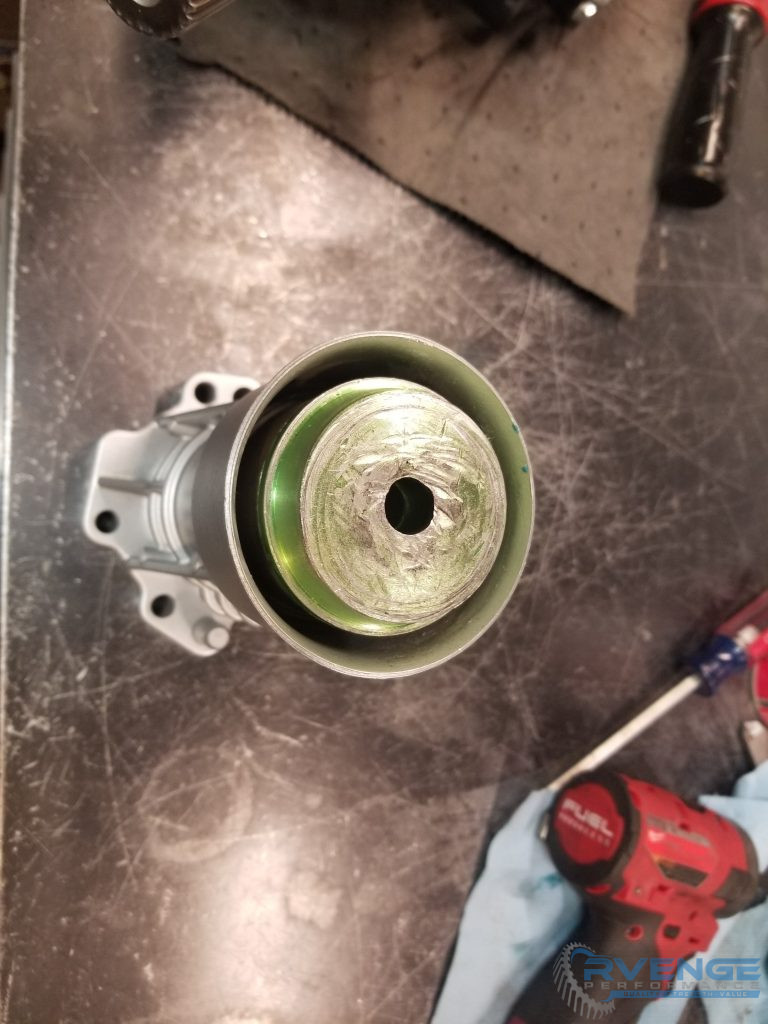
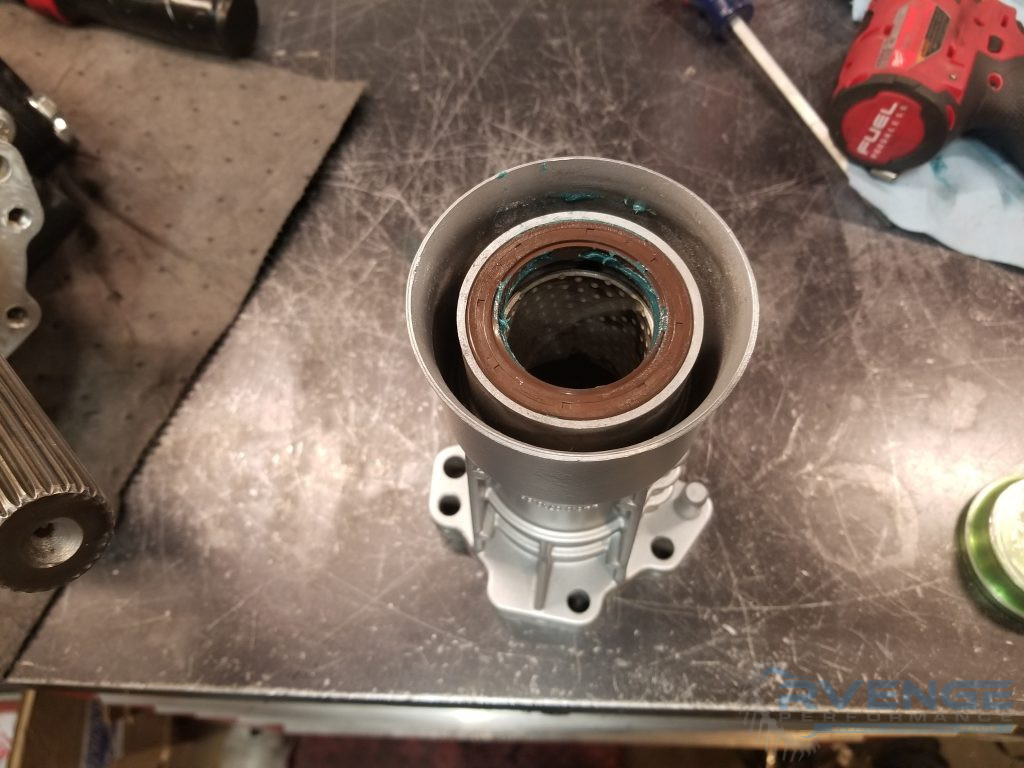
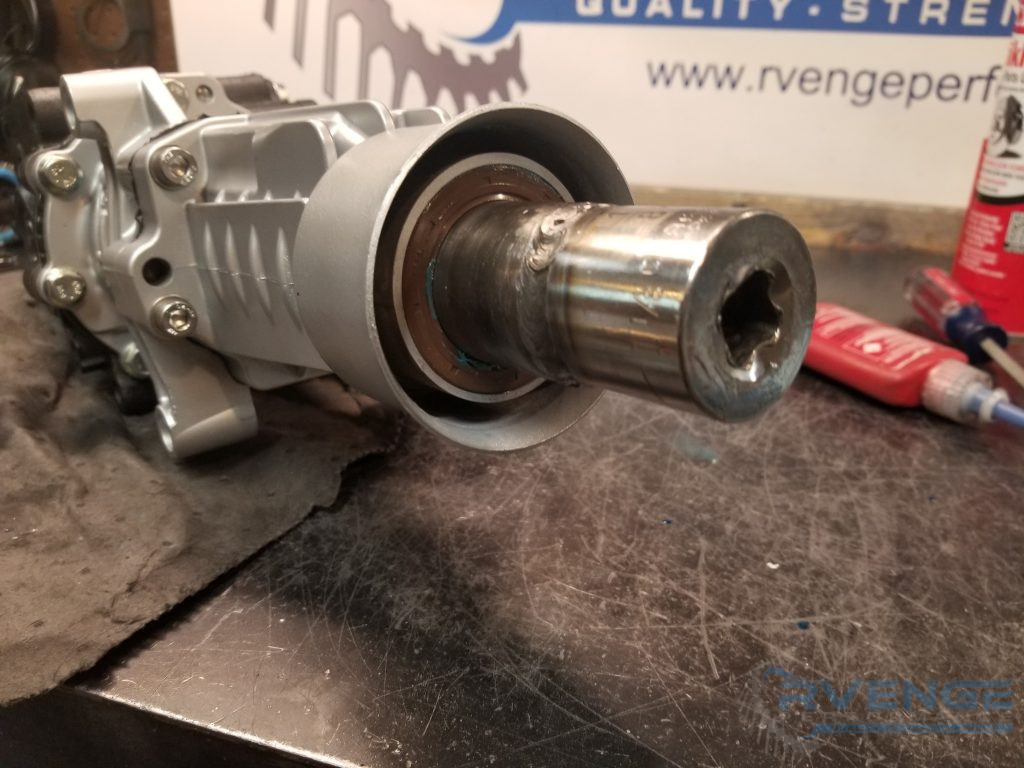
Its fairly straight forward to install the seals, but there are a few tips and tricks that make it easier. It is easier to install these if you remove the side cover and tap on the spool to knock out the gear inside. This also gives you a chance to replace the sealant on the side cover with a high quality RTV, like the “Right Stuff” from permatex. Below you will find some helpful steps if you read the captions.

The stock seal has been removed, then we knocked out the gear and side cover off after removing the 6 13mm headed bolts. Now grease the inside of the seal and use a seal driver or similar tool as shown above to drive the seal flush with the housing.
The OEM recall kit, which is no longer available contained a spacer washer to drive the seal deeper into the housing. If this is not done it will cause leaks or even the seal to pop out. You don’t need the washer, but its important to know how deep to drive it.
The spacer washer is approximately a tenth of an inch.
The seal must be driven into the housing, Shown here the depth is slightly over .9 inches. Ultra precision is not important, but get as close as you can.
Then place the spool gear in the side cover and slide the case down over it. This helps center the spool in the seal and prevents damage. If you slide it in from the side it can be hard to get it started in the seal and you may knock out the garter spring.
Gently push down and get the seal started, then flip it over, holding the spool gear in and shove it the rest of the way into the seal. You may need to run a small screwdriver around the inside diameter of the seal to get it to slide over the spool. Some spools are tapered more than others.
The tailshaft seal is easier. Use another bearing/seal driver to push it flush to inside of the tailshaft. If you are doing this on a fully assembled case you may need to use a socket or similar. Grease the inside of the seal and tailshaft bushing. Inspect the tailshaft bushing. Some copper showing is not the end of the world, but very heavy wear will cause the new seal to leak as the driveshaft snout can move around.
Once reassembled we use a custom tool to verify everything slips in easily, but you can do the same thing when installing your driveshaft. It should slide in without much effort.

Conclusion

We hope this has been helpful. Install your t-case, fill it with fluid and go for a drive, check for leaks upon return. You should get many years of service out of your new seals.

Share this Post

Check out our performance videos on YouTube.