
Today we are going to illustrate some of what’s involved in changing synchros in a 3000GT VR4 or Dodge Stealth R/T Turbo. This is also useful for those of you who want to take advantage of our cluster rebuild options.
These are not all the steps we take, but we think they will be helpful. It is a very labor intensive process. Some of the steps are changed to make them more friendly to people with less equipment available. It is still recommended to have a shop press of at least 12 tons, some bearing race/seal drivers, a good set of sockets, some punches, and a hammer. A block of wood and a nice clean place to work is important too.
We may not cover some of the finer details, such as setting bearing pre-loads, but we do have some videos illustrating some of that on our youtube channel and in our other blog posts.
Before I get started, please know you do not need to be rough on one of these transmissions to get it apart. If you find you are really having to handle something roughly you need to stop and think. Check for missed bolts, dowels, things slightly out of mis-alignment, etc.
These all don’t necessarily need to be in this exact order, but use some common sense.
Step 1
The first thing I do is drain the transmission completely by turning it up on its end case and then only an ounce or two of fluid will be left inside. There’s nothing worse than opening the case and having it spill all over the place.
Step 2
If your trans is really dirty on the outside take it to the local car wash and use the engine clean setting on it, blast off as much dirt and grease as you can. The cleaner it is when you take it apart the less stuff falls in it. Think of an open trans as an open wound. Keep it clean. Put it back together sitting loosely if you have to leave it sit out.
Step 3
Go over any bolts that look questionable. The trans mounts were super tight and my impact really got a workout. Luckily only one pulled the threads out, two I could save.
Trans mount bolt holes are 12mm by 1.25 pitch.
Two cleaned up great, one had the threads come out completely.
Heli-coiled:
If you need to repair a t-case hole I STRONGLY suggest using a drill press to be sure the hole is plumb. Very easy to get one in at an angle and that is difficult to repair.
The block to trans holes should be chase as well (also m12 by 1.25)
I did the t-case holes as well, they are m12 by 1.75. I also did the side brace mounts which are m10 by 1.5 and the slave cylinder mount, which is m8 by 1.25. Use lube when tapping. Clean the threads when done. I like to do all the bolt holes before starting because you will know if the case has serious damage and any metal mess when get cleaned up before cracking the trans open.
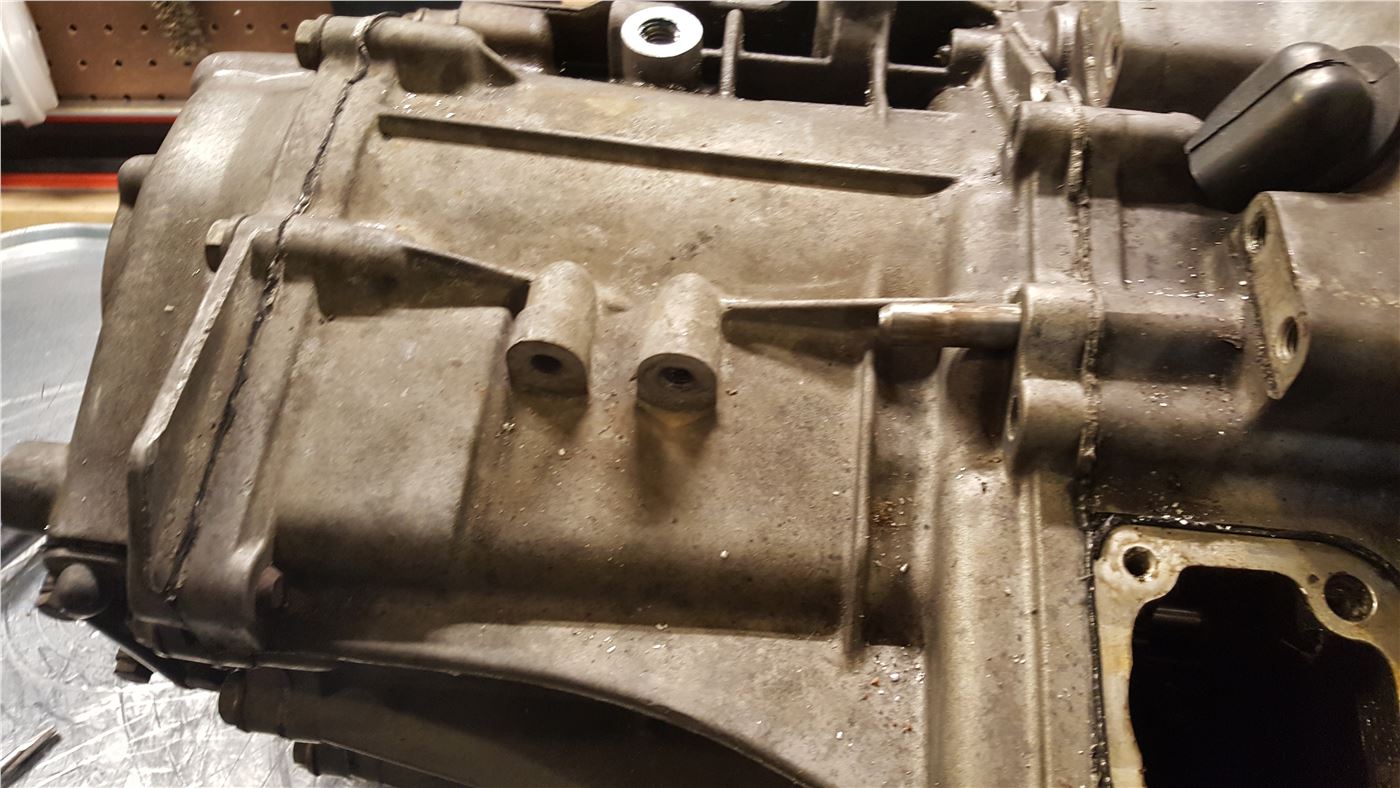
At this point you want to remove the shifter detents, reverse lockout, and the reverse light switch:
You will need a 24mm wrench for the big can looking thing, which is the reverse lockout. You will need a 13mm socket for the shifter guide above that and you will need a 22mm socket for the shift detent above that.
The reverse switch is 24mm.
All of these parts are set with blue loctite, so they may take some effort to remove. I have seen the threads worn quite a bit on these when removing them sometimes. Work them in and out and use lube if they get stuck. The trans really isn’t all that thick there.
Once that is out of the way, remove the 4 bolts holding the shift tower in.
Remove the two bolts holding the L-shaped bracket that moves the shifter up and down (side to side in the car, not pictured).
You will need to carefully work the square shifter base off the trans.

It will be rtv’ed if the trans has been apart before or will have the anaerobic sealant on it if its never been opened or someone used the correct stuff last time. It will be tough because there are two dowels, so you can’t twist it. I don’t advise being too rough on it because there is a spring inside you can damage. You can use a small chisel and work it loose a little at a time on each side. Be careful not to mar anything up. Any high spots will need to be filed down and any low spots are potential leak spots. Small nicks don’t cause problems if they are sanded smooth.
Carefully work this piece up and out:
The spring will usually fall off, this one stayed on because it was greased recently.
Now we are moving on to the dowels and bolts…
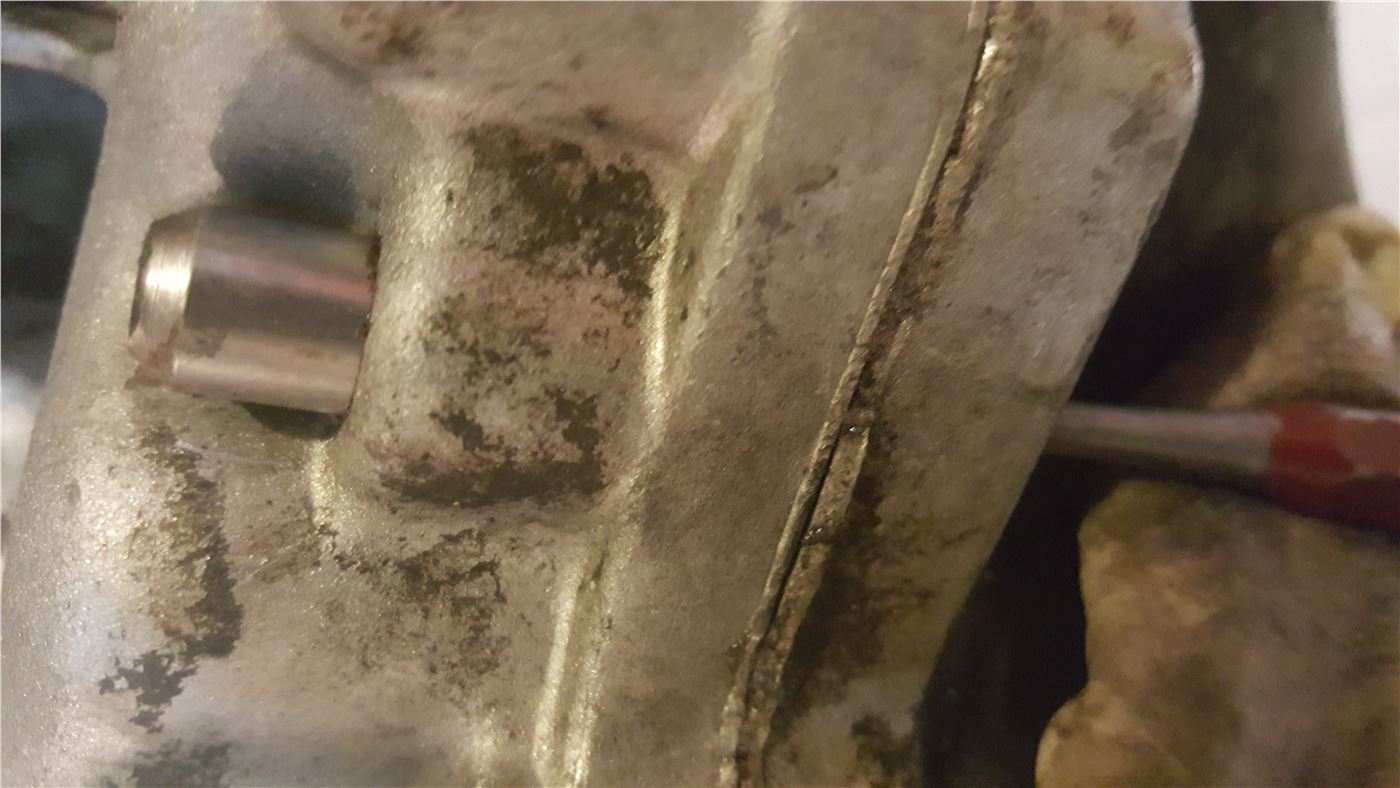
Note the dowel pin. I always hammer them out before pulling the case apart. This keeps you from beating on the case and damaging the shift fork rails. The factory did us a favor and gave an access hole:
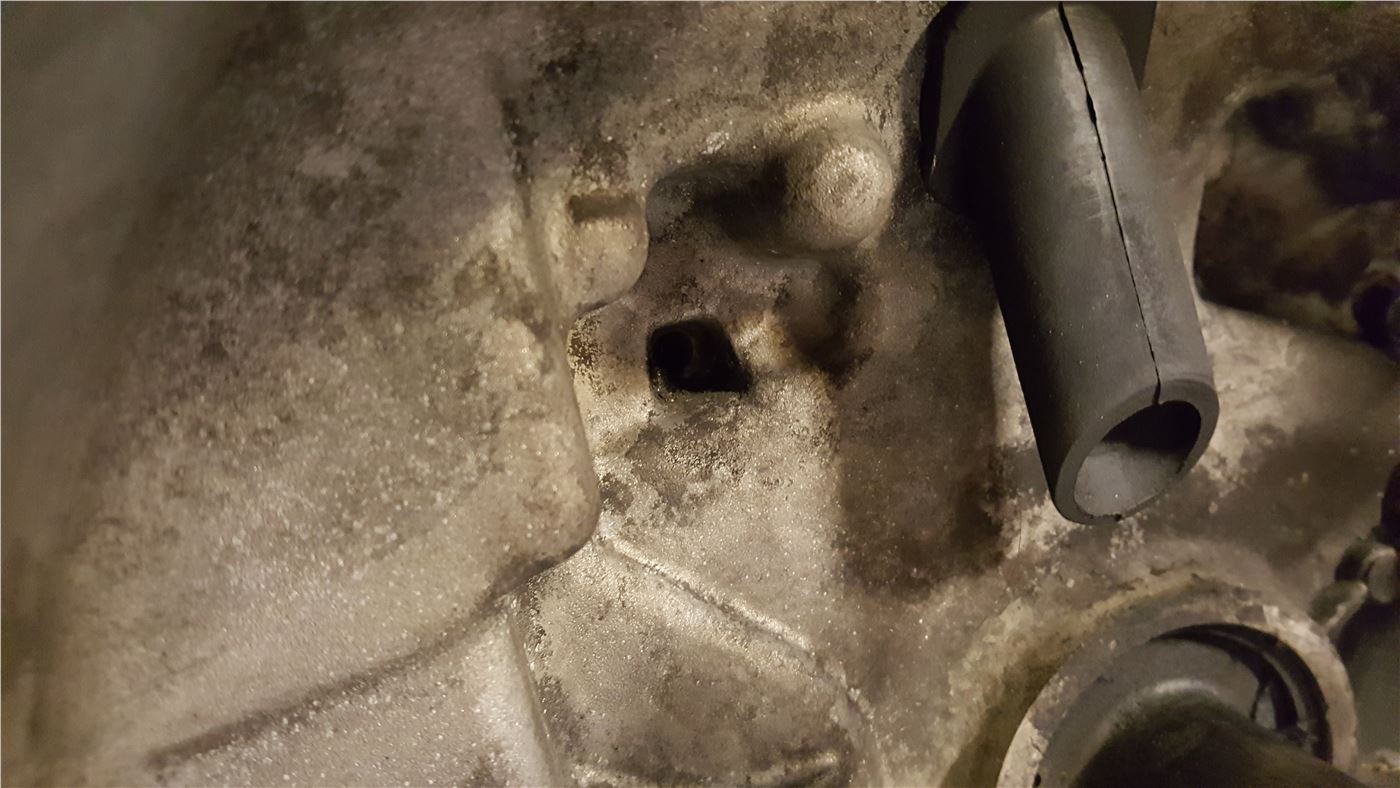
Tap it out with a punch.
The six speed has a bellhousing bolt INSIDE the bellhousing. if you can’t see it the clutch fork is in the way…
The bellhousing bolts are 10mm headed.
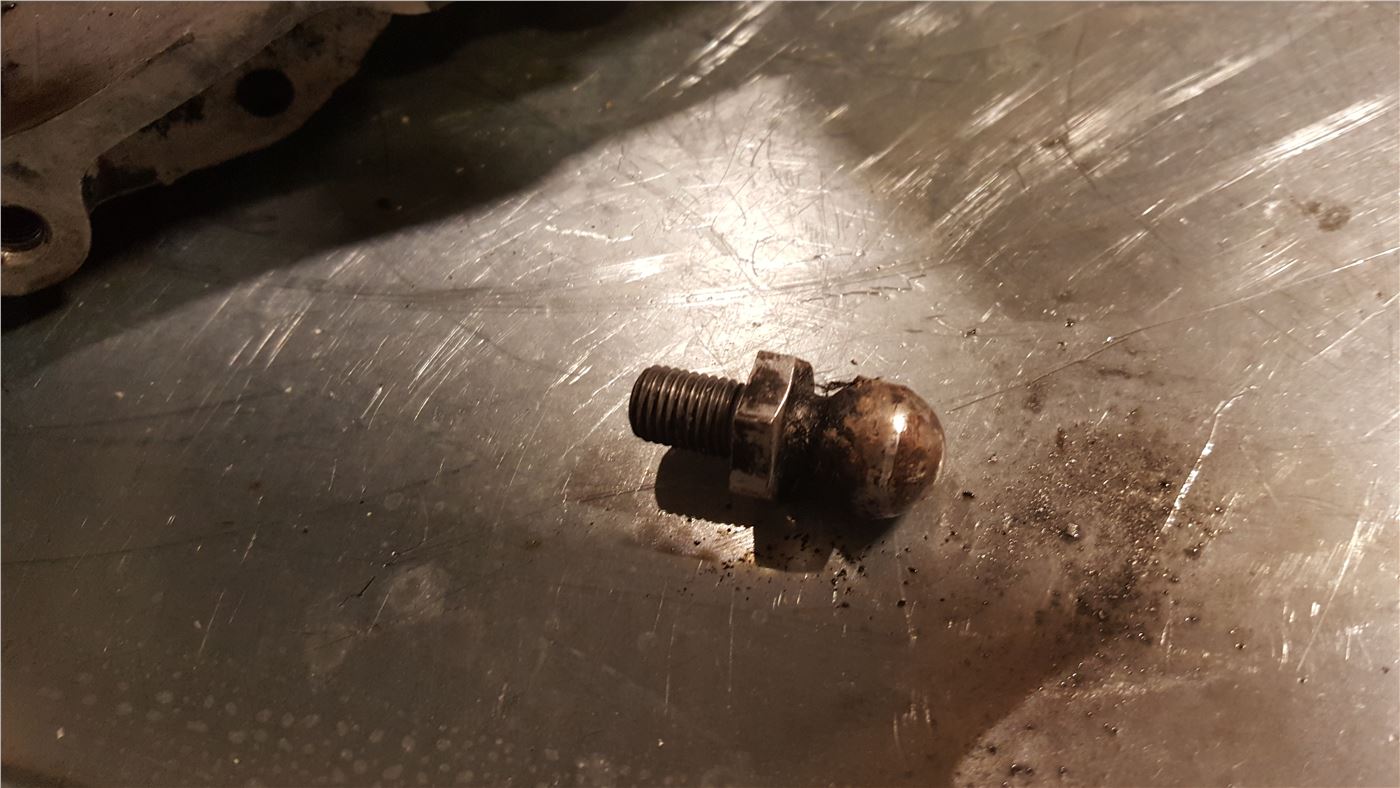
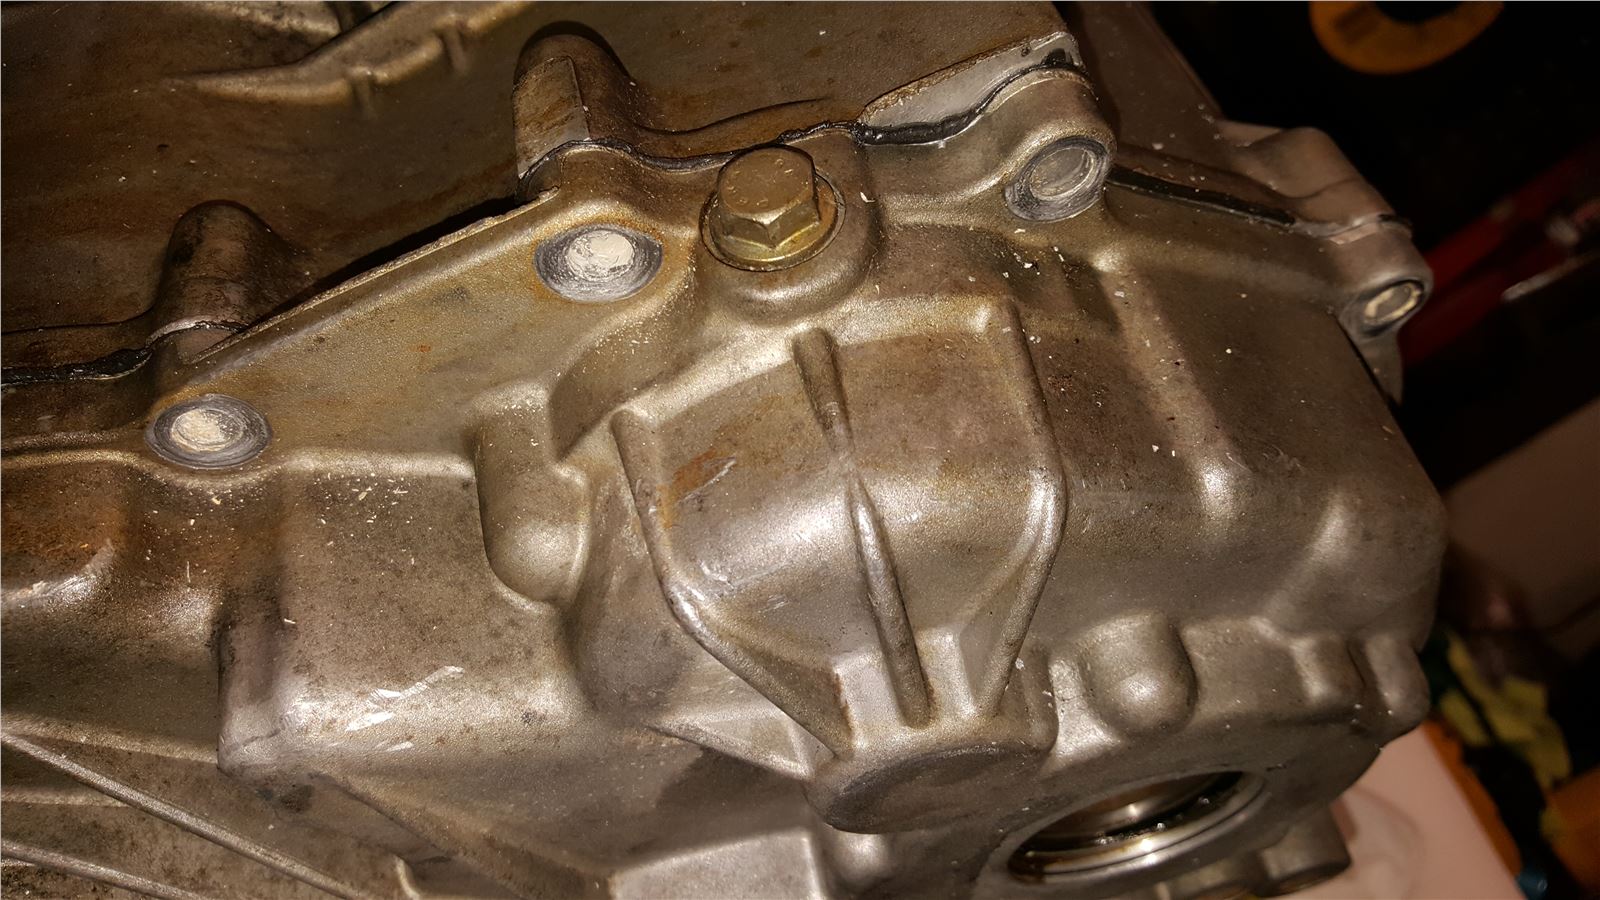
Remove the clutch pivot ball because its probably worn out. (17mm)

If your ball looks like this replace it. It will impact your clutch pedal performance.
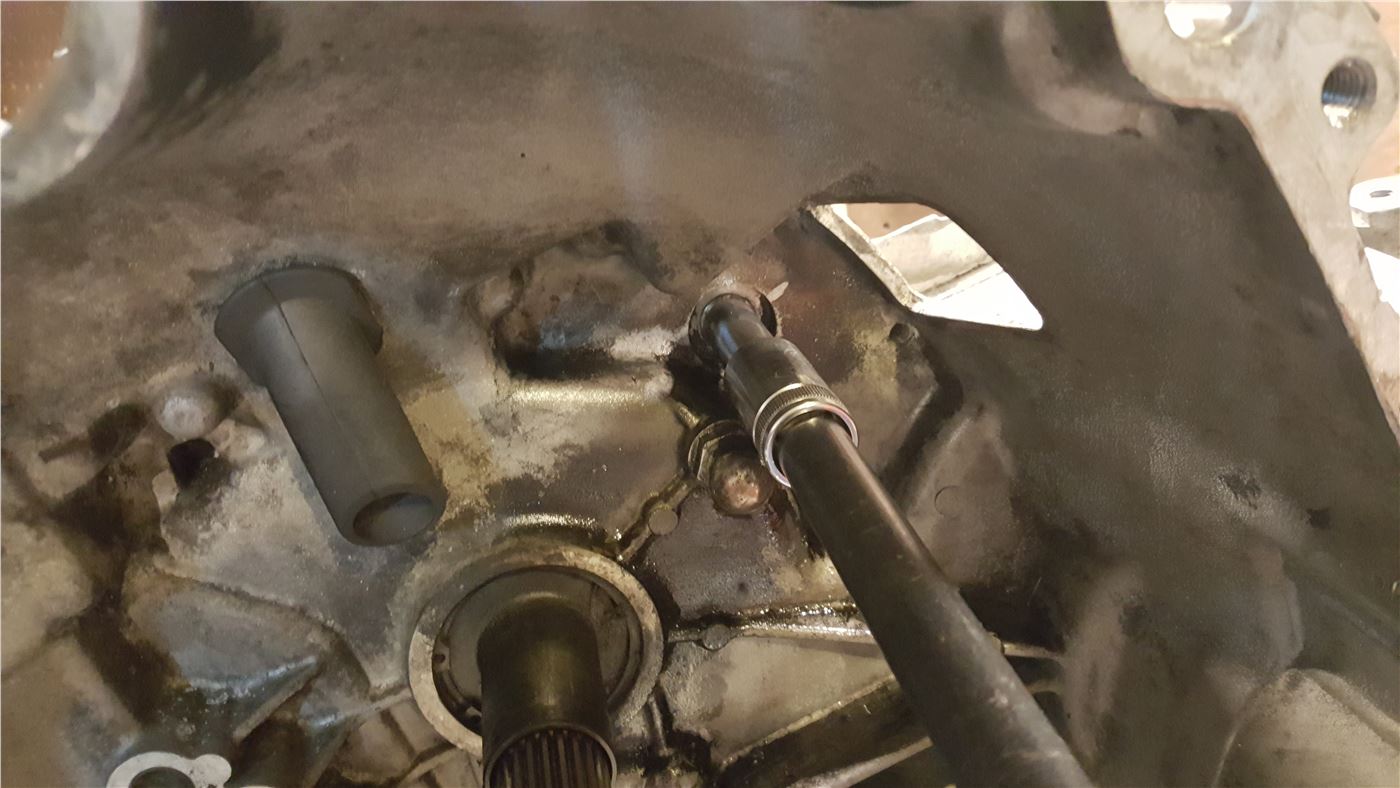
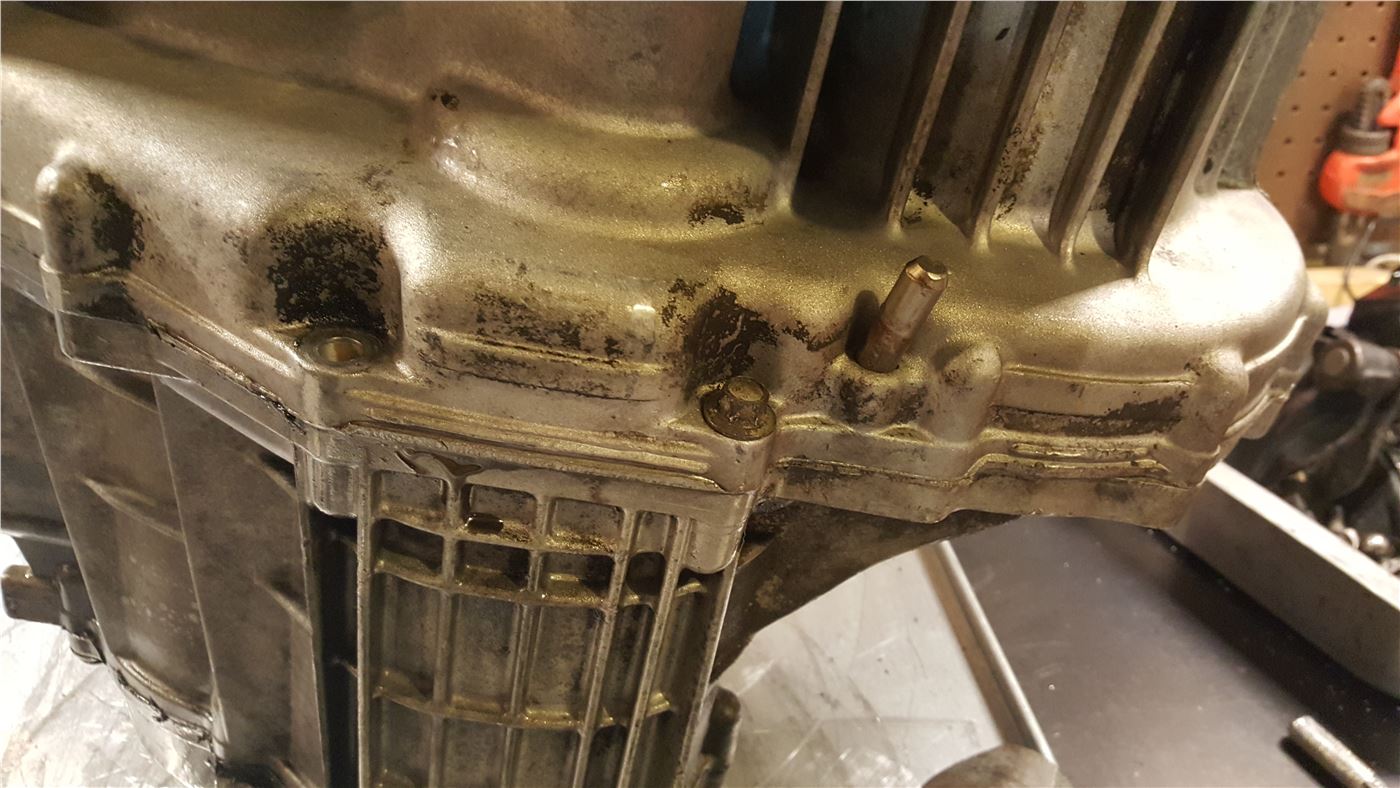
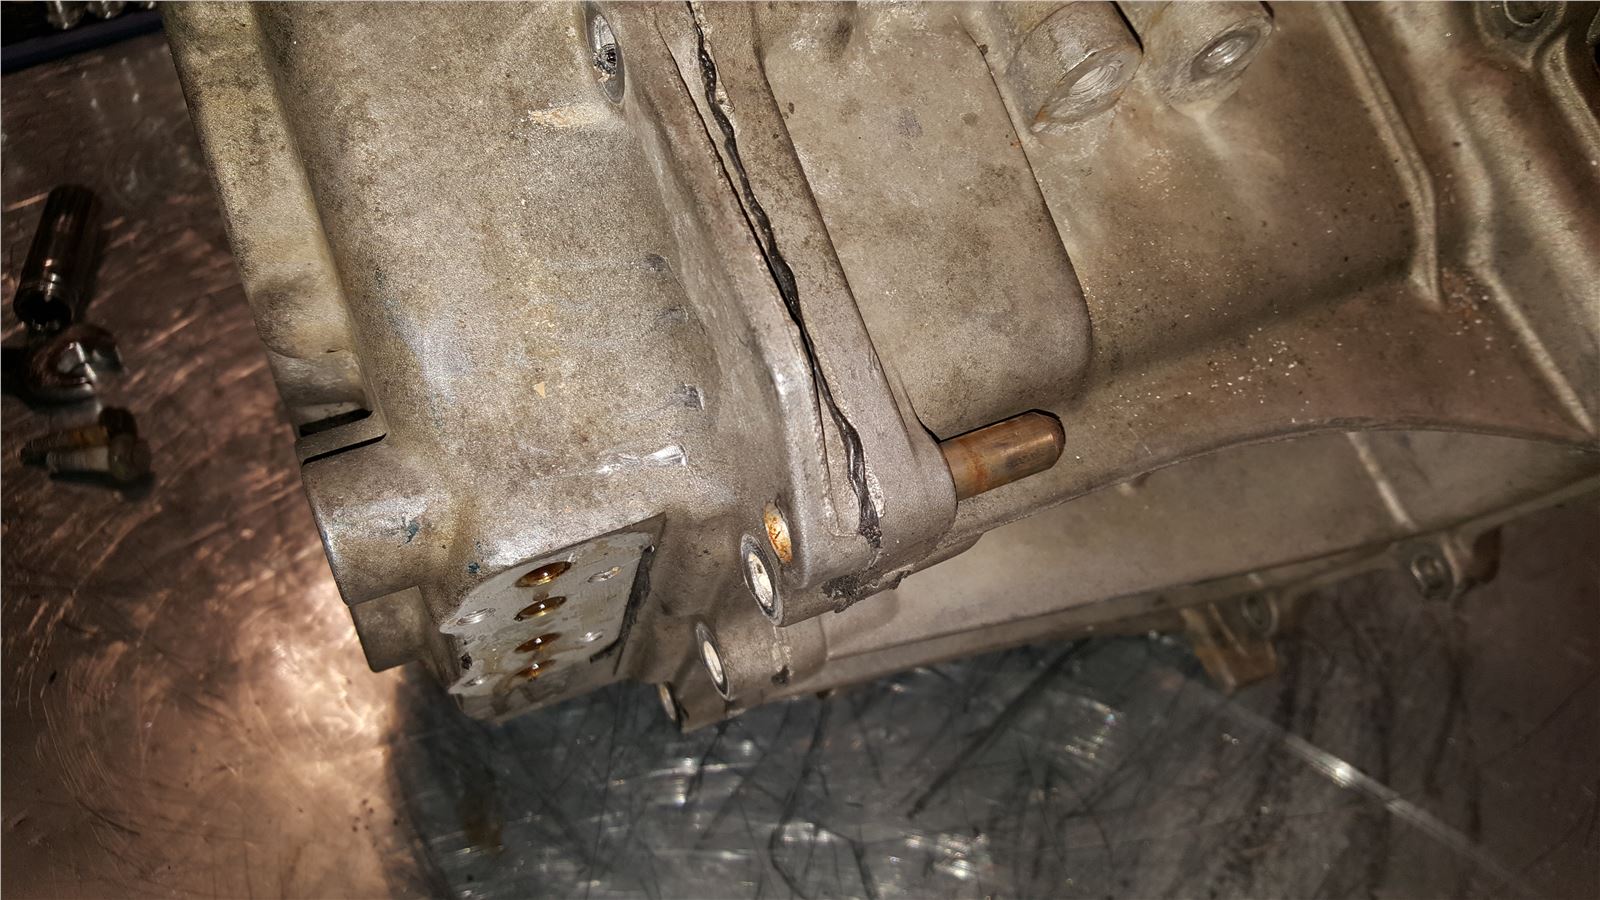
There is another dowel on the other side:
Remove ALL the bellhousing bolts:
Depending on how much RTV that may have been used it may be hard to get the bellhousing to come off. Tap on the safe spots (they are rectangular spots on a couple ends of the case) until you get it to crack loose. Use a rubber mallet or block. Work your way around evenly. Don’t be tempted to put a chisel in there… Do not beat the crap out of it. Try another side if you can’t get it loose. Make sure you have ALL the bolts out. Lift it [B]straight up[/B] to avoid damaging the input shaft internal seal.
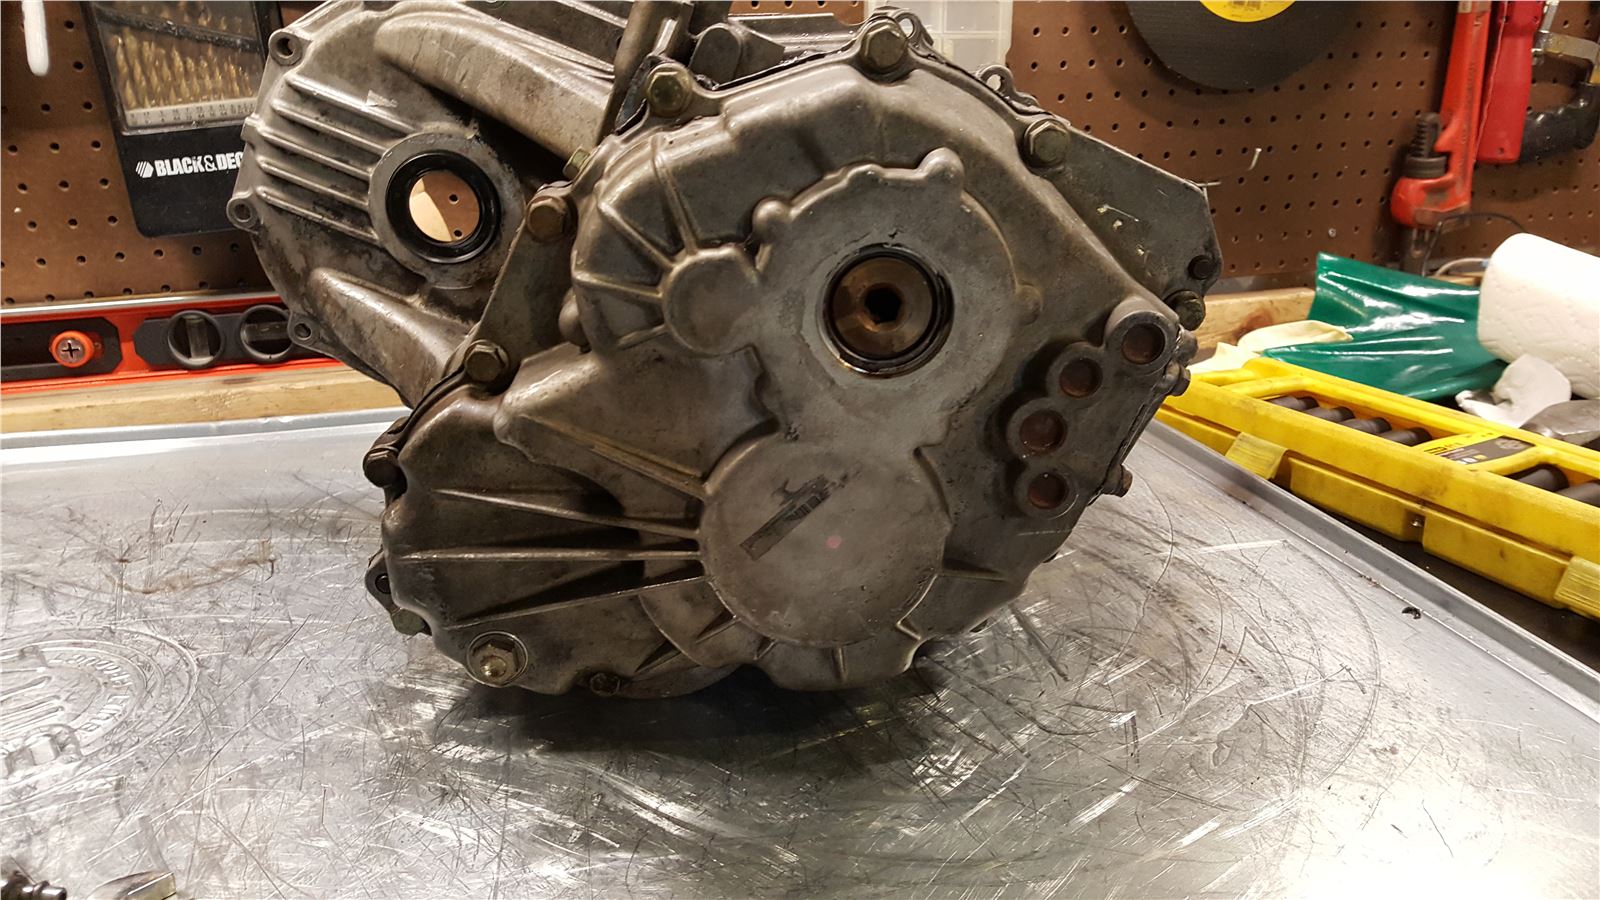
You should be greated with this:
A filthy bellhousing. Notice the clean line?? That is where the new fluid reached… No one can say synchromax doesn’t have enough detergent… that was just sitting still a couple weeks.
Use mineral spirits and brake cleaner to clean things up. Try not to get harsh chemicals inside the input shaft bearing. Oil all the races when its cleaned up and the inside of the input shaft bearing. You don’t want the input shaft bearing to dry out as it is unavailable now, except the last few NOS ones.
Next we will separate the midcase.
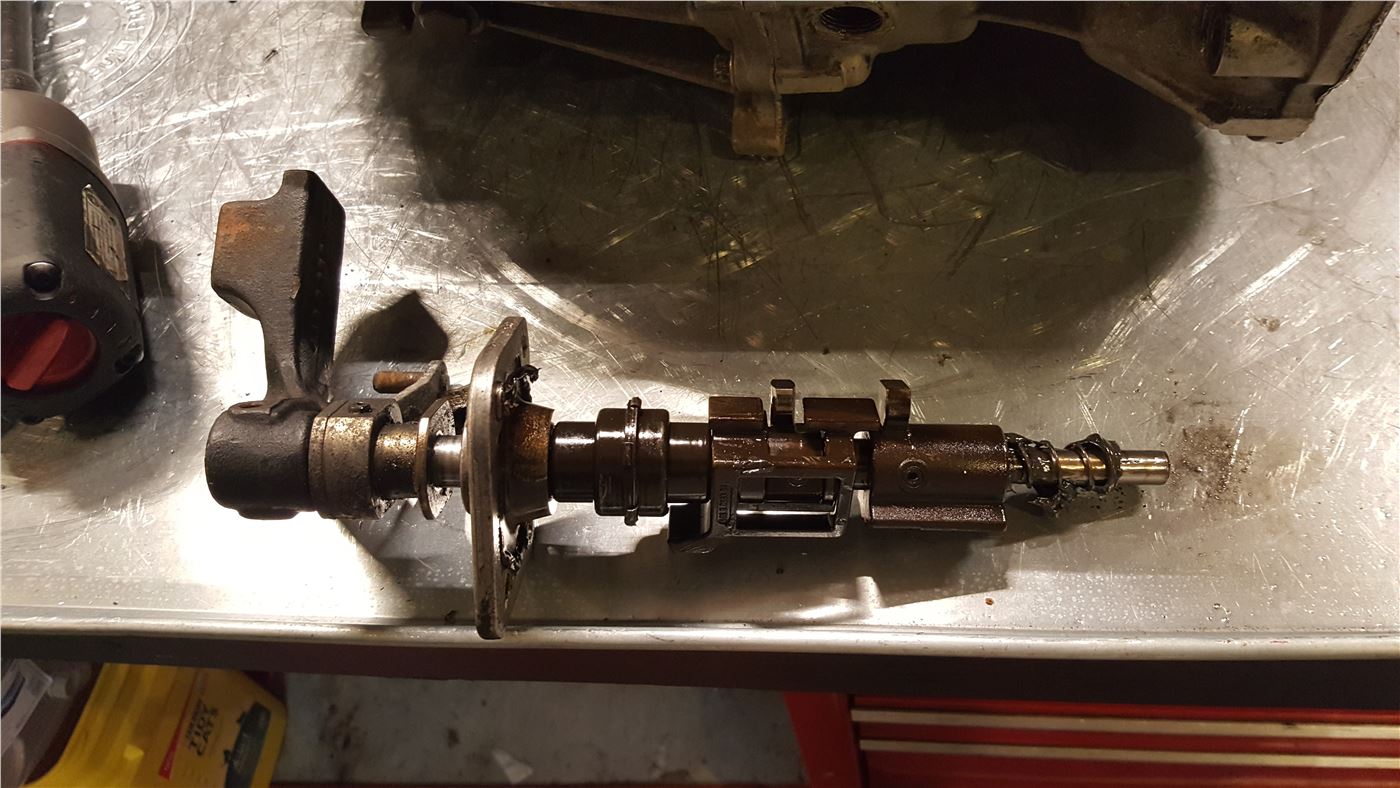
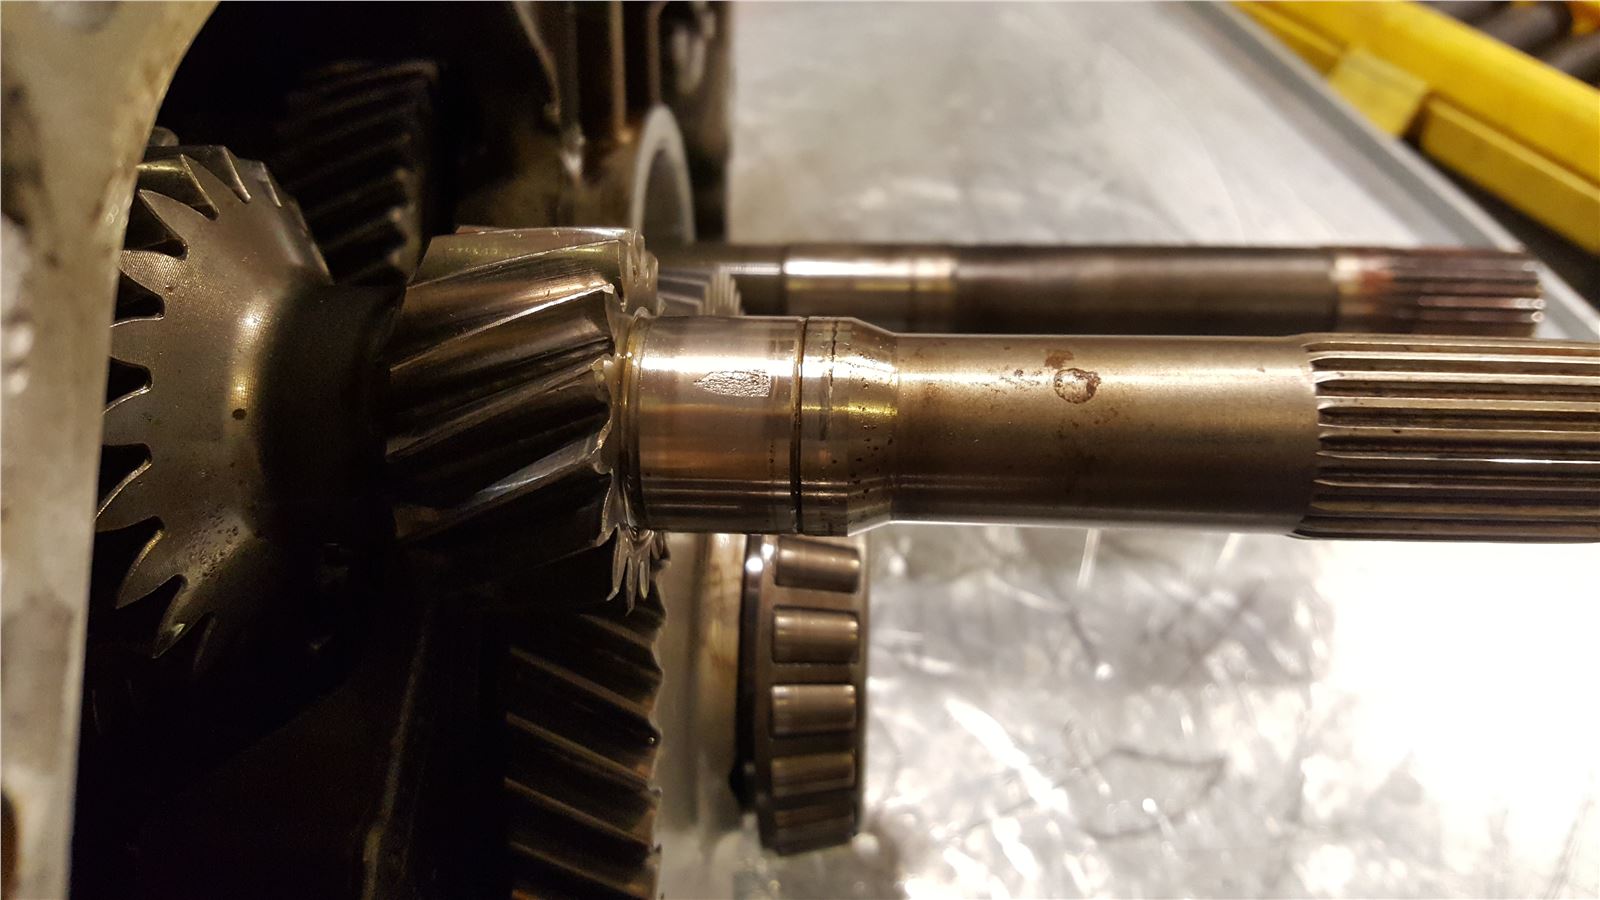
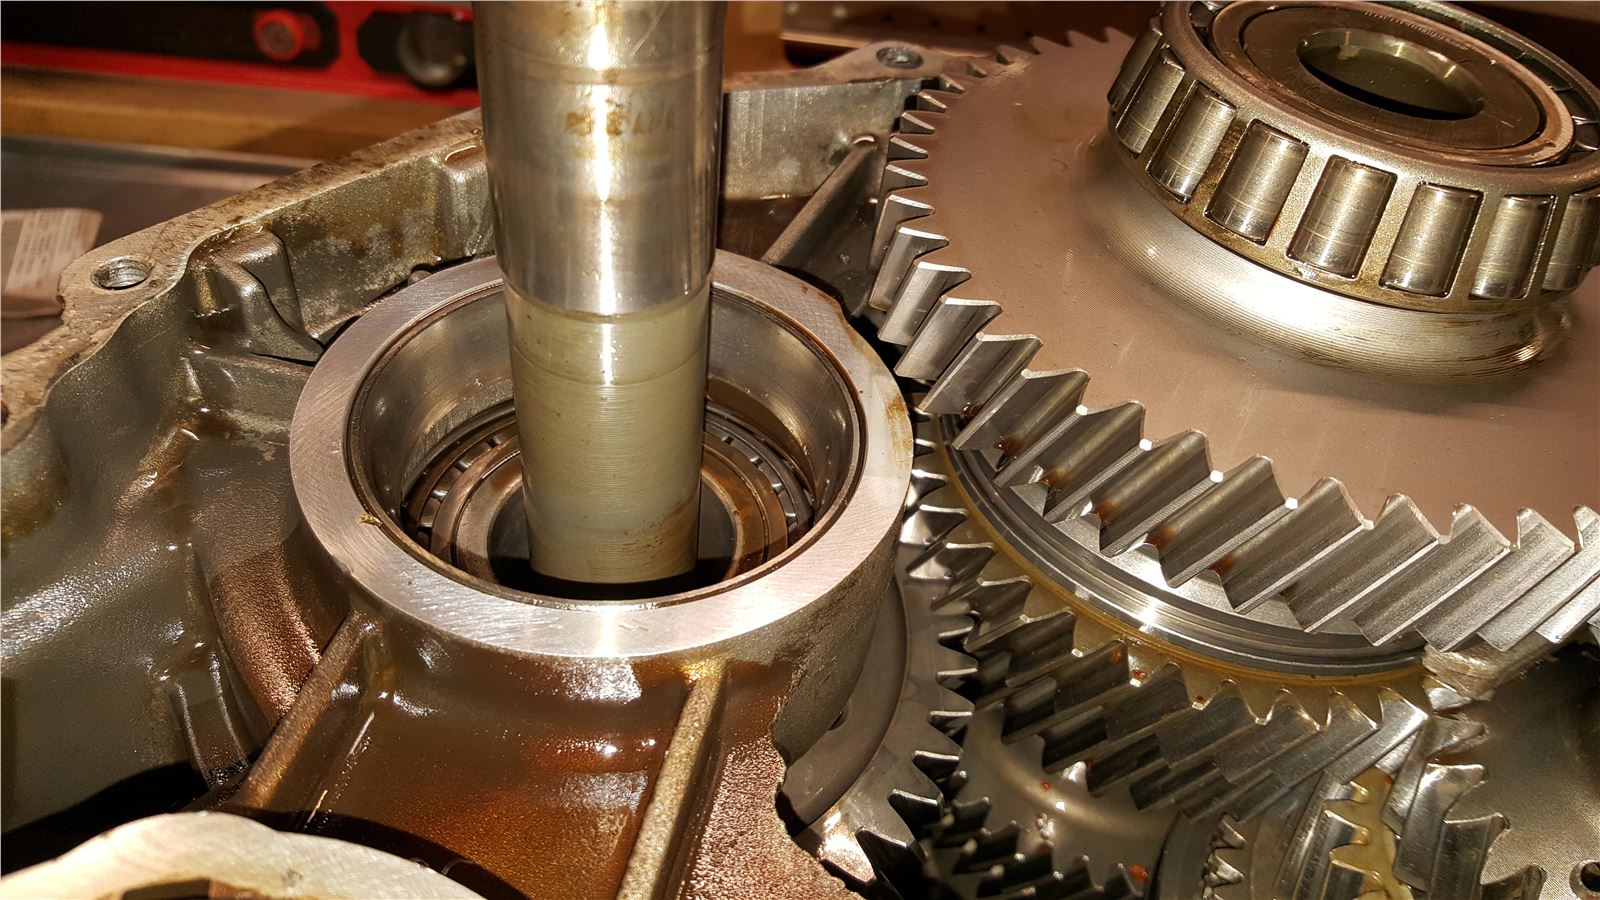
]Inspecting the input shaft reveals some pretty bad damage to the area the input bearing rides. I would not use this as is because its going to make a lot of noise and destroy the input bearing. Careful inspection of the input bearing revealed it was okay.
Remove the input shaft plug by either very carefully prying it out or driving a sharp pic through the center and prying it out. The pick method is safer to the transmission case, but if you are very careful sometimes you can save the plug if you pry it out from the edge.

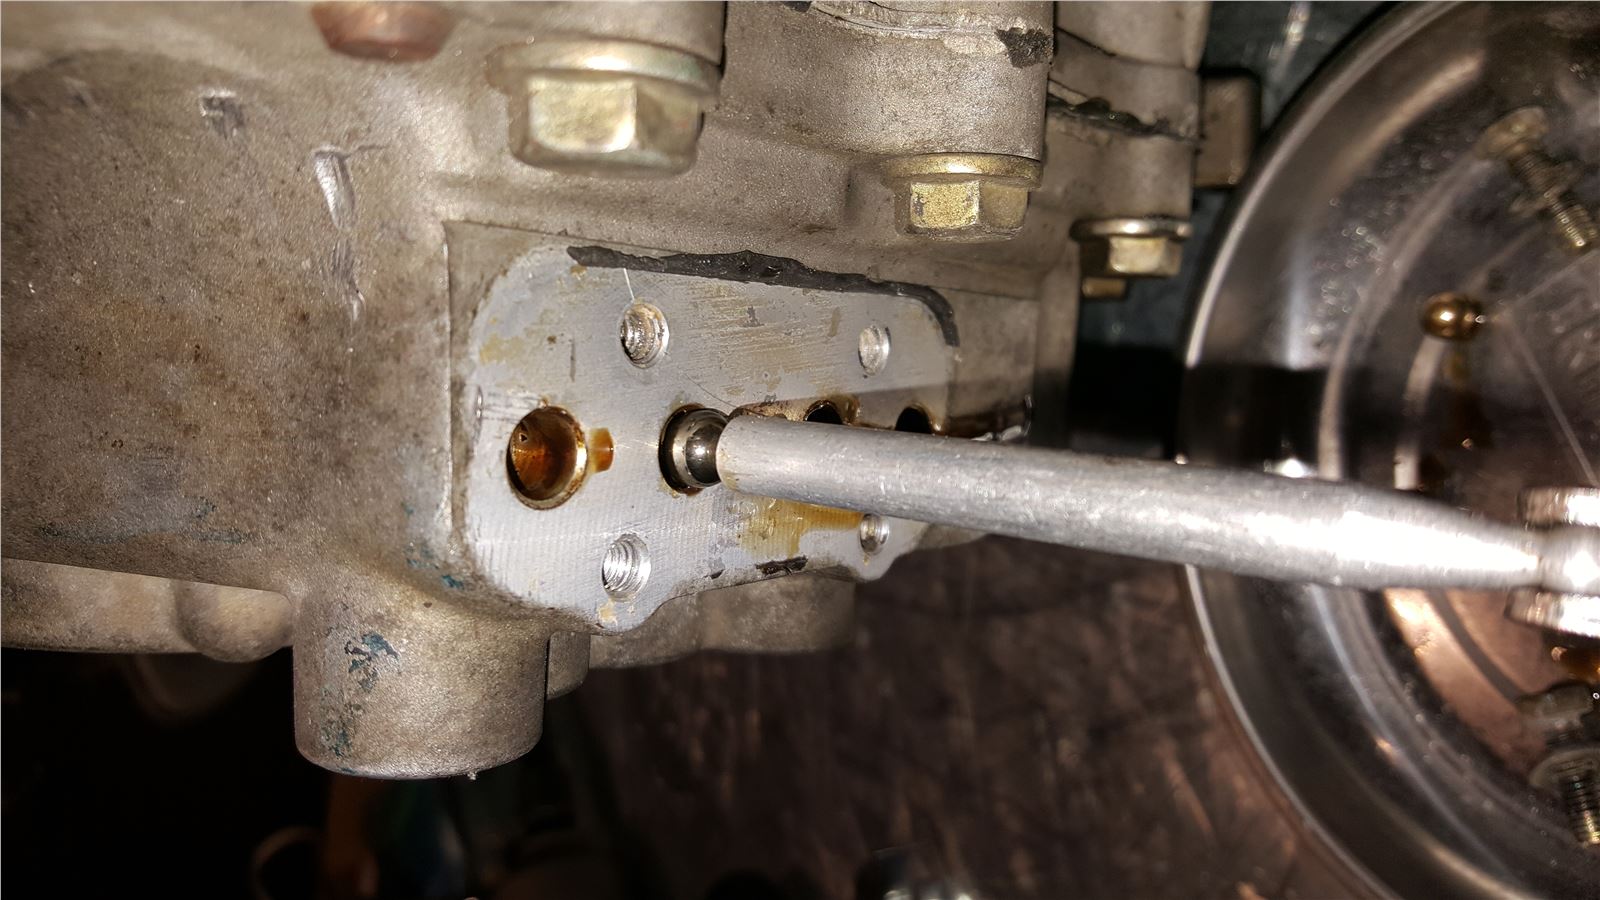
You need to remove the 4 bolts holding the detent plate in now. Don’t remove them completely, because once you break the sealant loose springs make it want to pop out.
Carefully pry the plate loose, try not to damage the sealing surface.
Place a magnetic tray under the detent plate if you have one to catch things an finish removing the bolts.

Use a magnet to pull out any detent balls that stayed in.
Remove all the 13mm headed bolts (The German heritage of the trans shows through since this does not use Japanese spec bolt heads, sometimes they are 10mm, probably rebuilt by Mitsu) Leave the side facing bolt in, that holds the reverse idler bracket in.
Knock out the dowels:

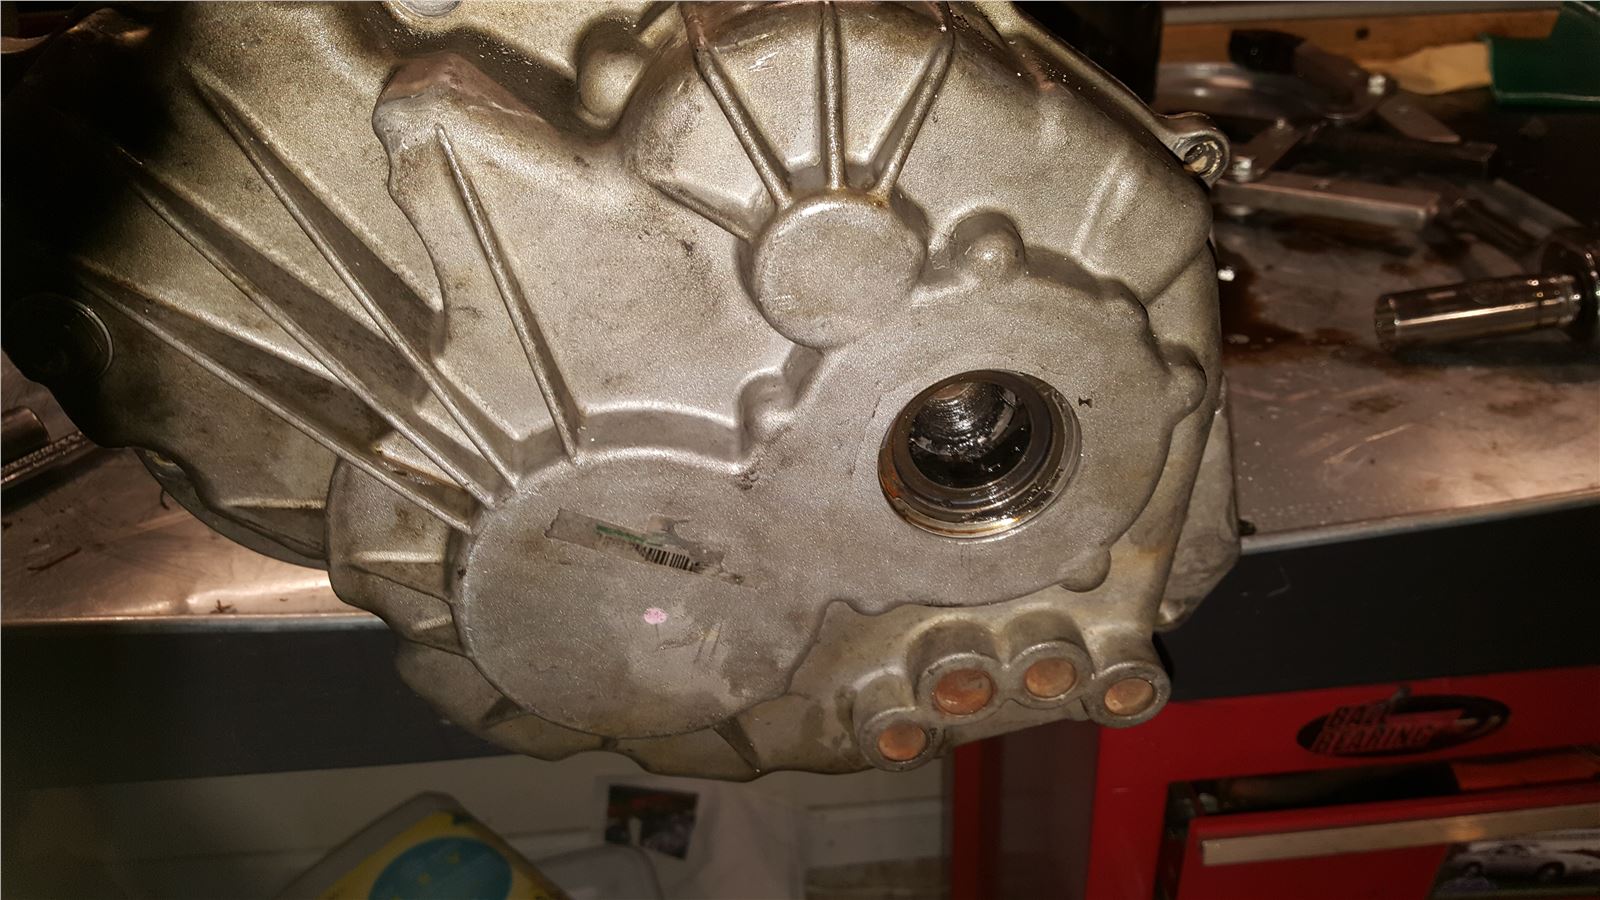
With all the bolts removed, flip the trans so the end case is on the bottom and using a mallet knock it loose from the sealant. I usually try hitting the front diff area as it seems to come apart easily then. Use a RUBBER Mallet. Do not beat on it, this area is weak.
You now need to slightly twist the mid housing so it clears the 1st gear and then pull up:
The mid housing will come out now, this trans is VERY dirty! It has had a vcu failure.
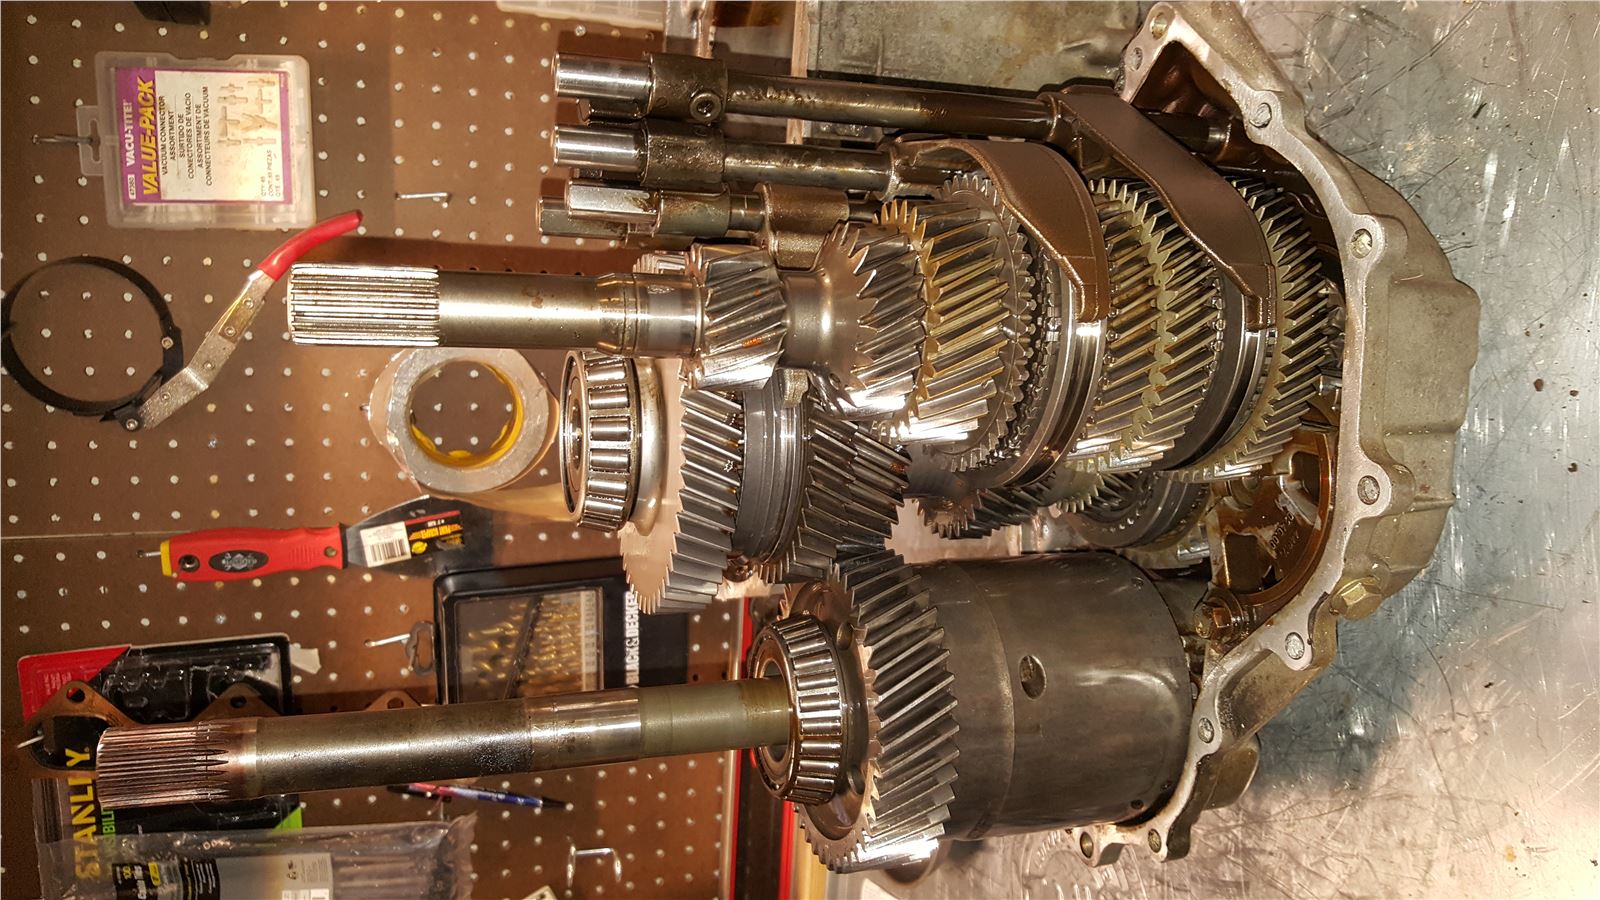
You should now see the input shaft, counter shaft, vcu/center differential assembly, and the end case.
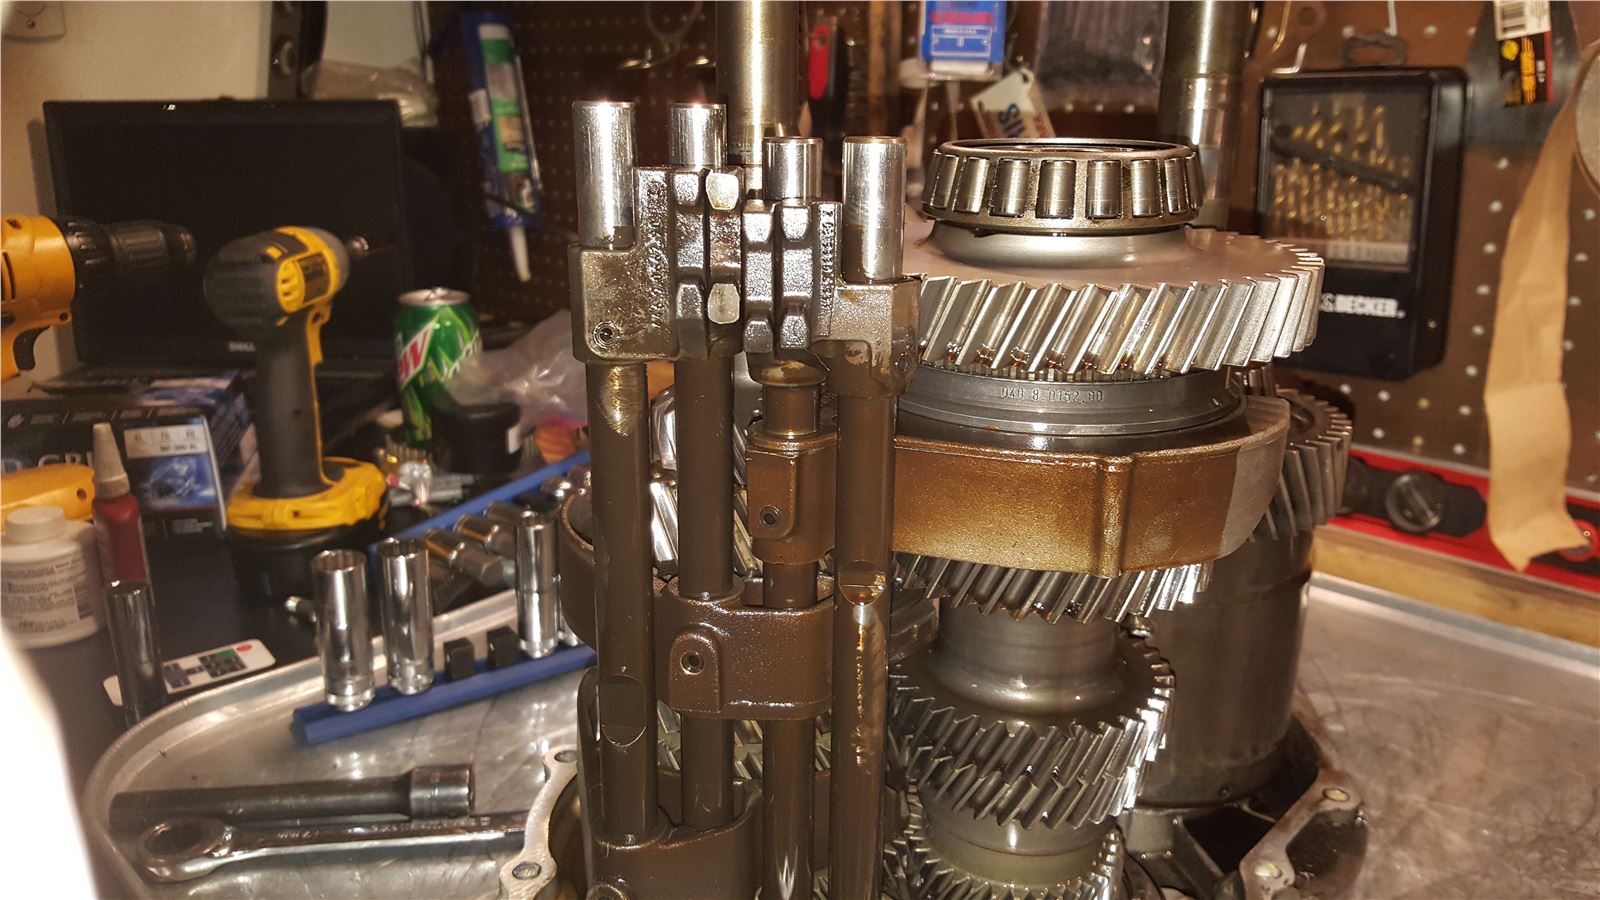
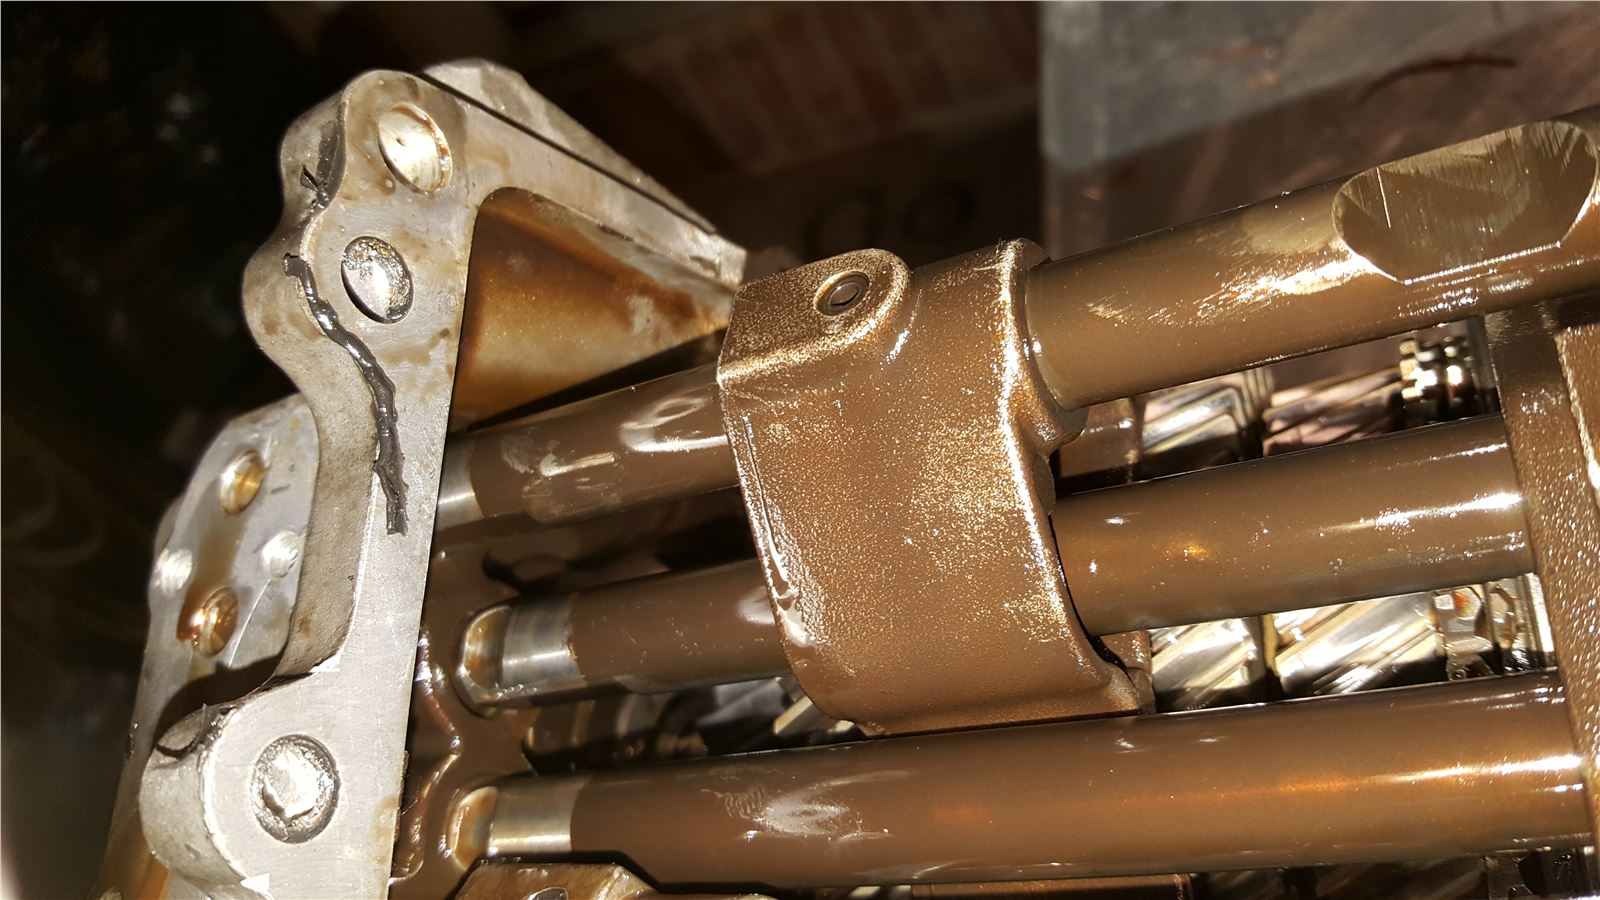
Engage two shift rails/gears at once so the input shaft can’t spin:
You need to use a 12mm allen socket to remove the input shaft bolt. Its 70 ft/lbs and has loctite, so an impact wrench makes it much easier.
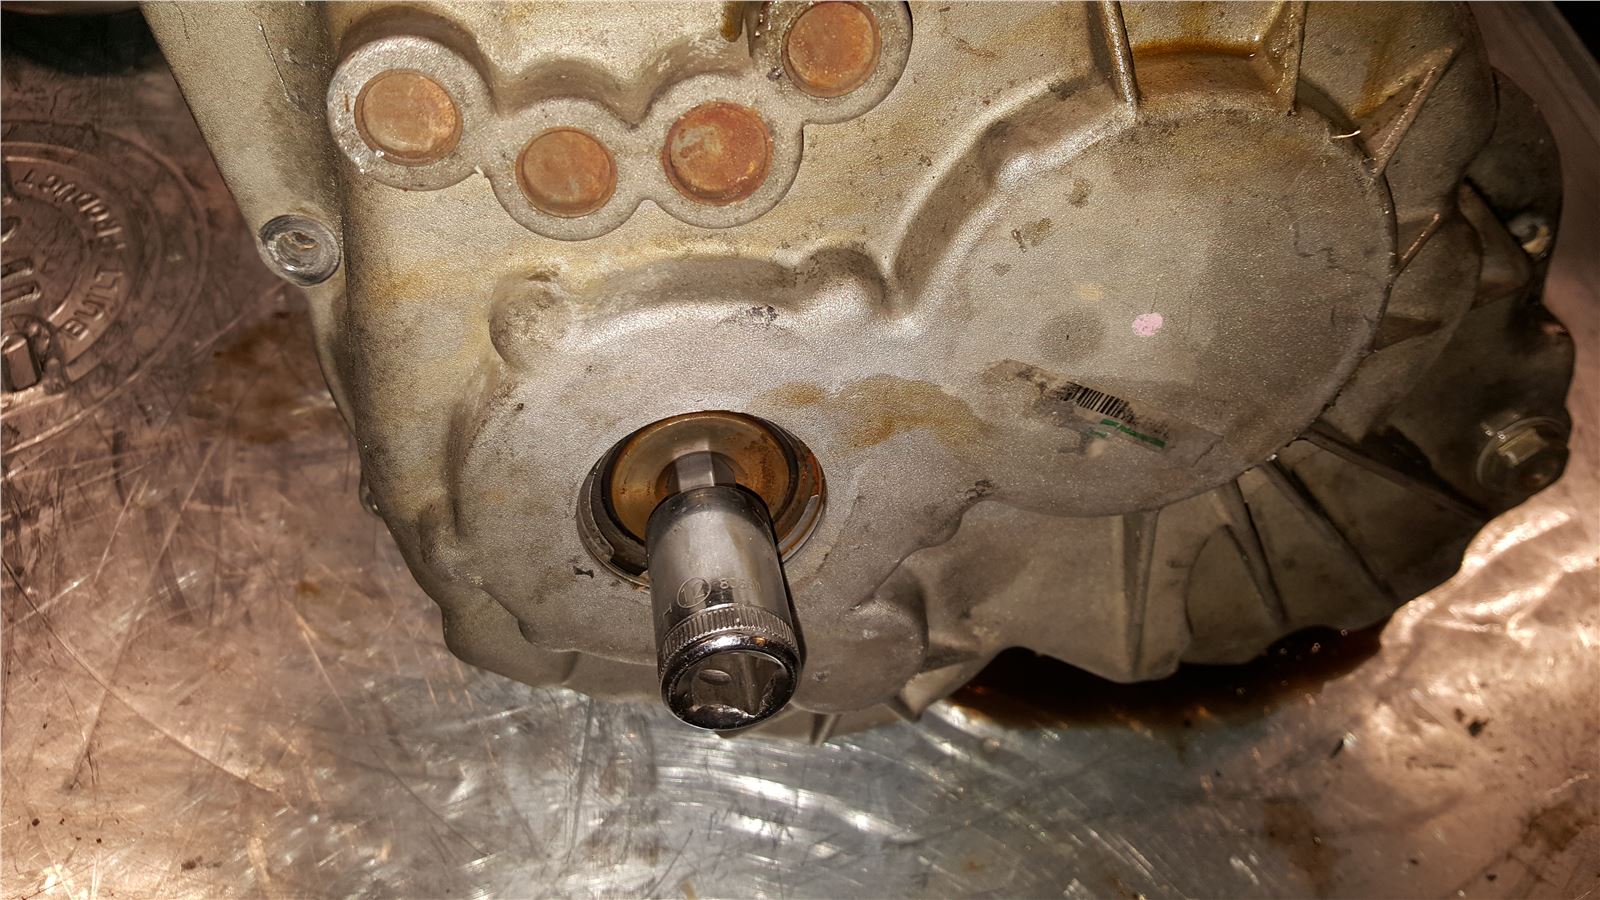
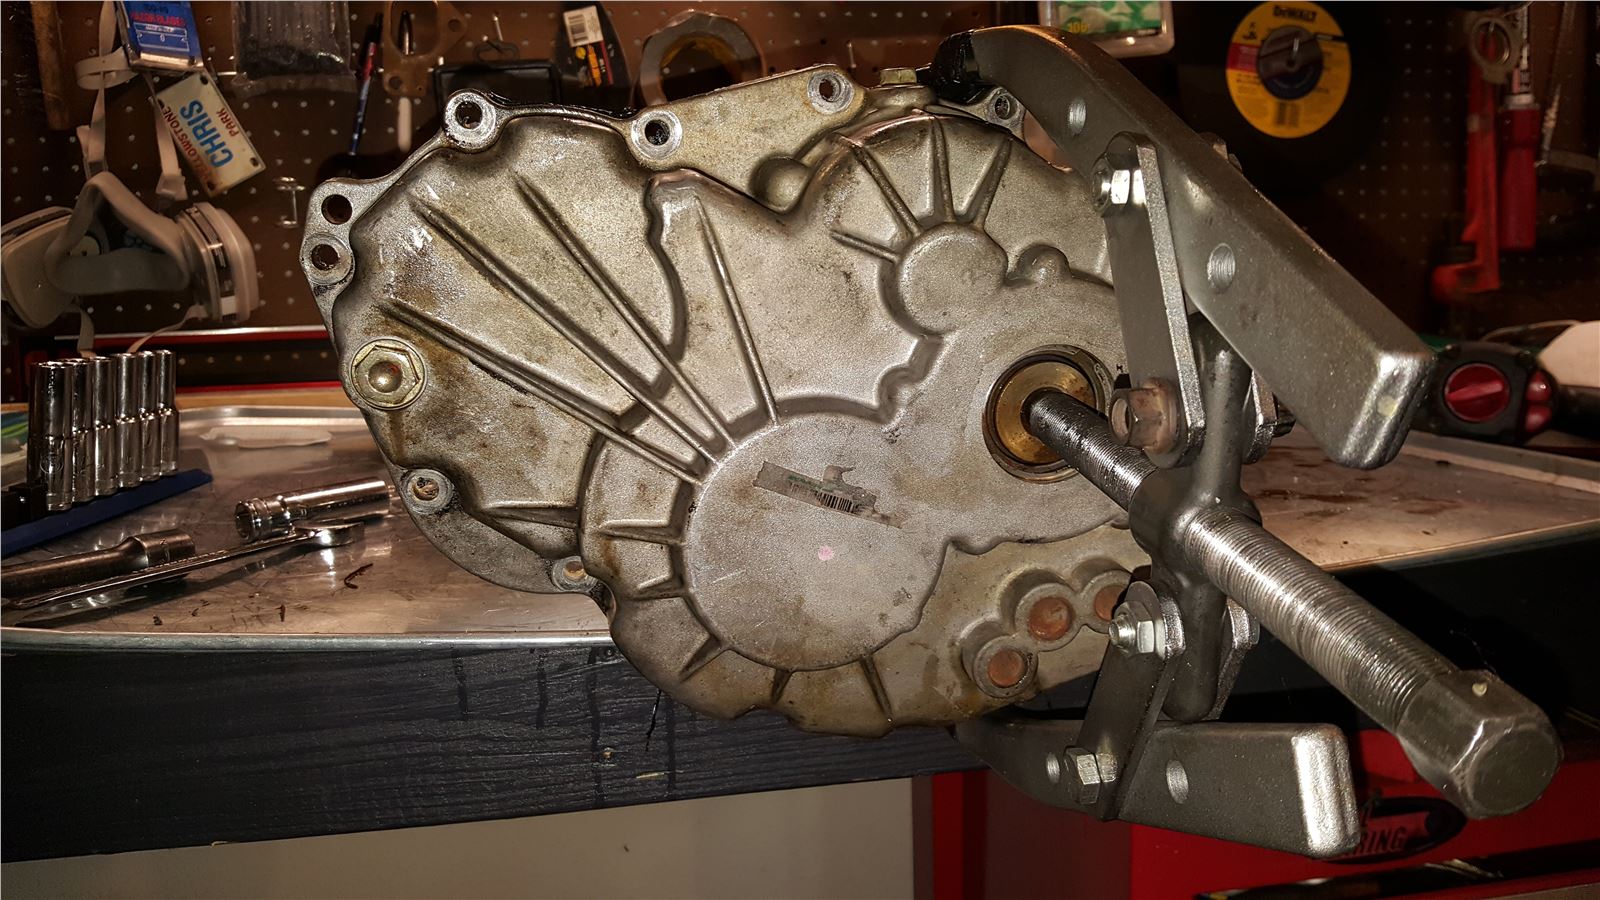
Some people hammer these out, but I like to press the input shaft out of the bearing in the end case. I use a fairly large puller. Loose the bolt a few turns. Press it loose, then loosen it more turns and press it all the way. not having the bolt all the way loose at first will help prevent damaging the threads in the input shaft. I have never found one of these super tight. If you have a big enough press you could do that, but I like this way because nothing is trying to fall out.
You can see the bolt removed now and the input shaft is pressed all the way through:
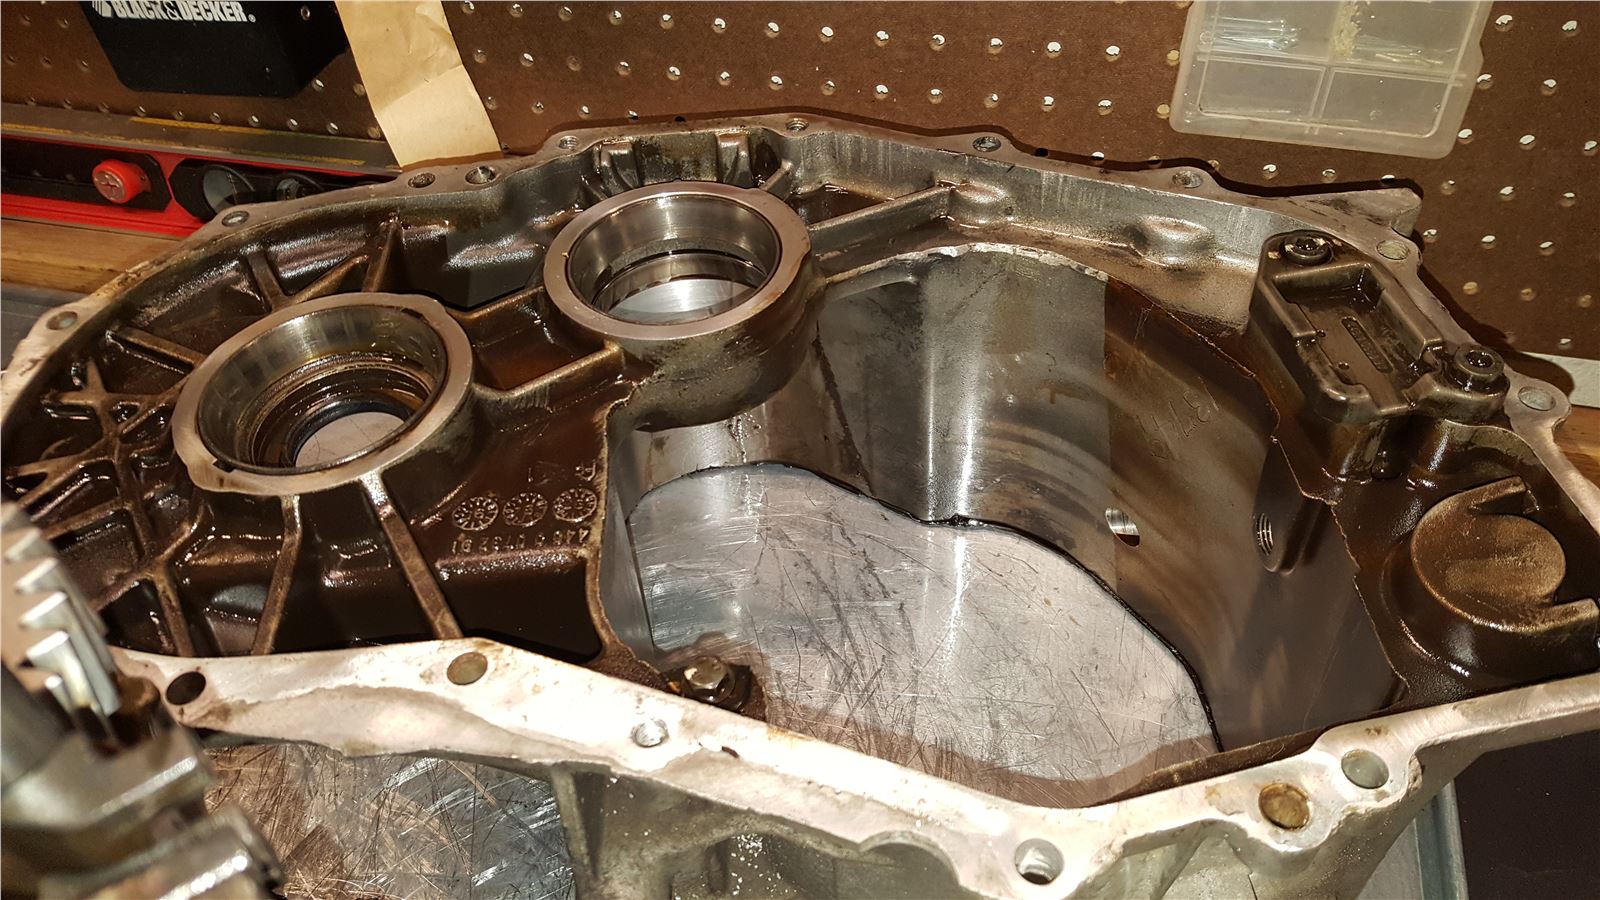
You will now find the shift rails are bound up, keeping the case on. Wiggle the case off the shift rails.
Pull the case off.

Part #2 Coming Soon!